In this tutorial, we will look at how to connect Senstroke sensors to Ableton Live, a digital audio workstation.
Ableton Live is a professional DAW that allows you to compose music, among many other things.
Its special ergonomics make it ideal for live use, wich makes Ableton Live the ideal software if you want to use Senstroke sensors in these conditions.
The Senstroke technology
As a reminder, Senstroke sensors use MIDI technology, which allows use with all DAW (digital audio workstation) that accepts MIDI over Bluetooth.
Connect Senstroke sensors to Windows 10
If you want to use Senstroke sensors with Ableton Live, we recommend that you follow this tutorial on how to connect sensors to Windows 10 with SensorConnect.
This tutorial shows you how to proceed and what software to download to connect sensors to Windows 10.
Connect Senstroke sensors to Ableton Live
Requirements
- Have connected Senstroke sensors to Windows 10
- Have Ableton Live installed. For this tutorial, we use a trial version of Ableton Live 10 available at https://www.ableton.com/en/trial/
In Ableton Live
Lauch Ableton Live.
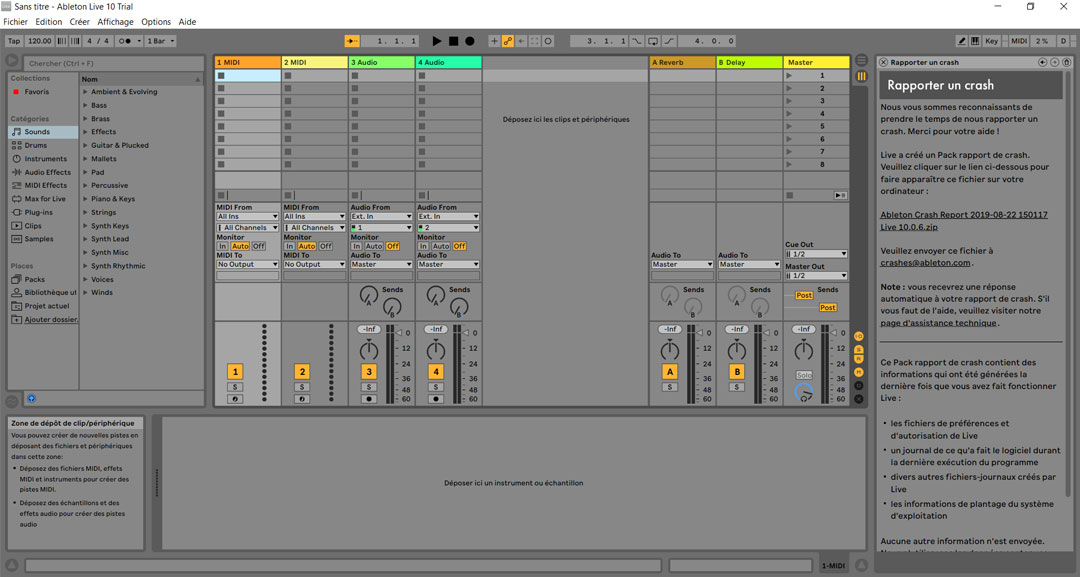
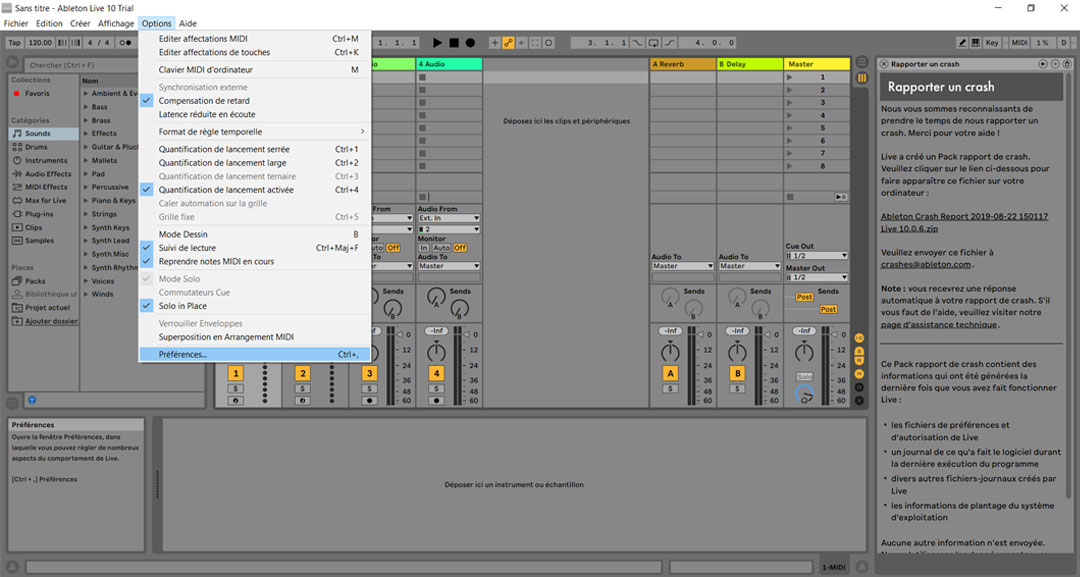
Go to the software preferences.
To do this, click on “options” in the top menu, then on “preferences” at the bottom of the window that appears.
You can also use the keyboard shortcut “CTRL +,”.
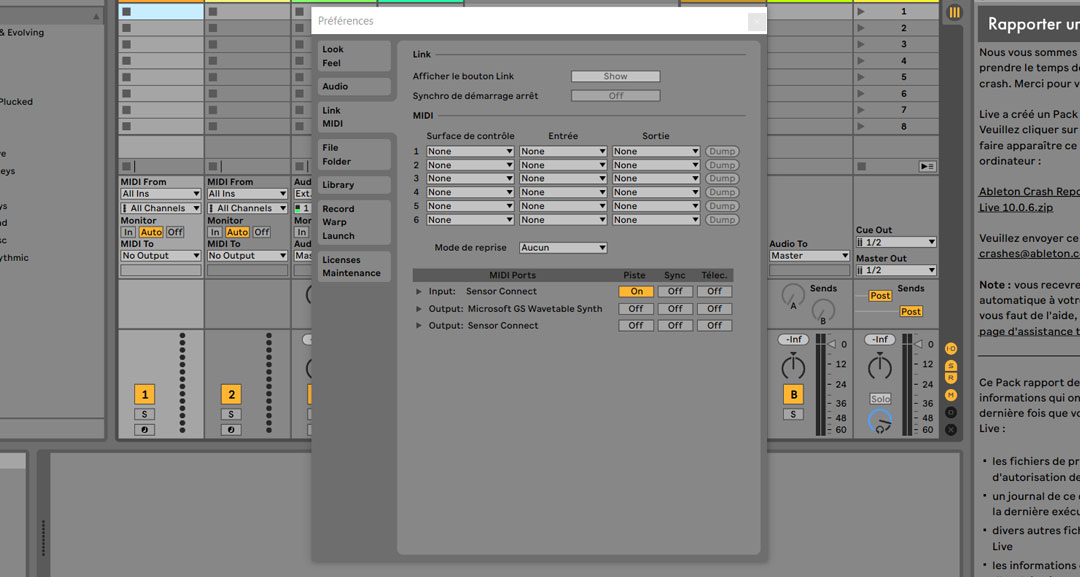
Once the “Preferences” window is open, go to the “MIDI Link” tab.
In the “MIDI Ports” section, the Input SensorConnect must then appear and be enabled. If necessary, simply click on it to activate it.
Create a new Drumkit
Once the Senstroke sensors are connected to Ableton Live, return to the Home screen.
In the menu on the left, select “Drums”. The different drum kits then appear: you can preview the sounds of a kit by clicking on them.
Select a kit, for example the standard “SessionDry Kit”.
Then drag it onto MIDI track 1 which then automatically takes the kit name.
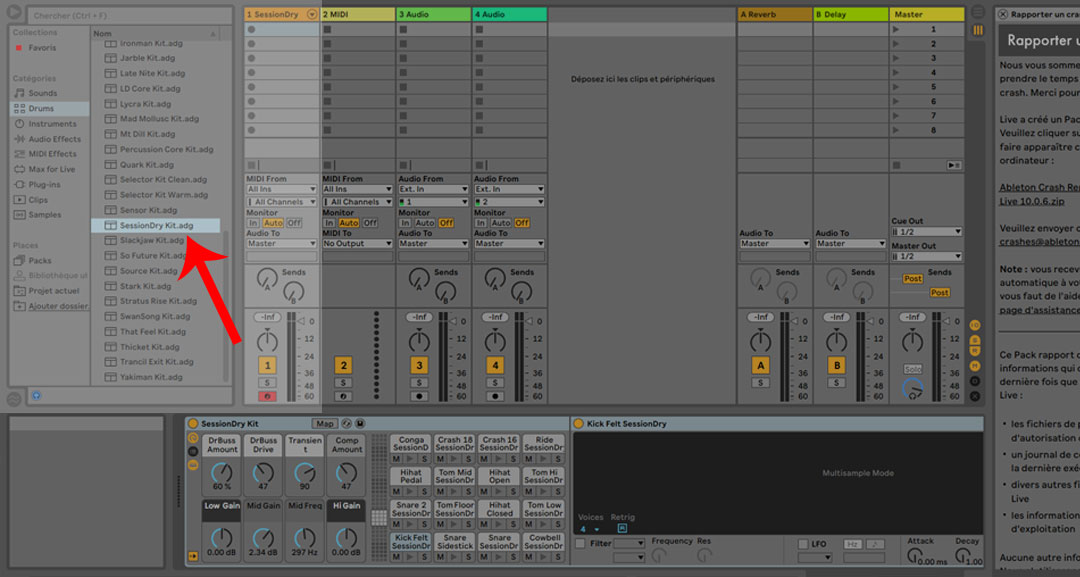
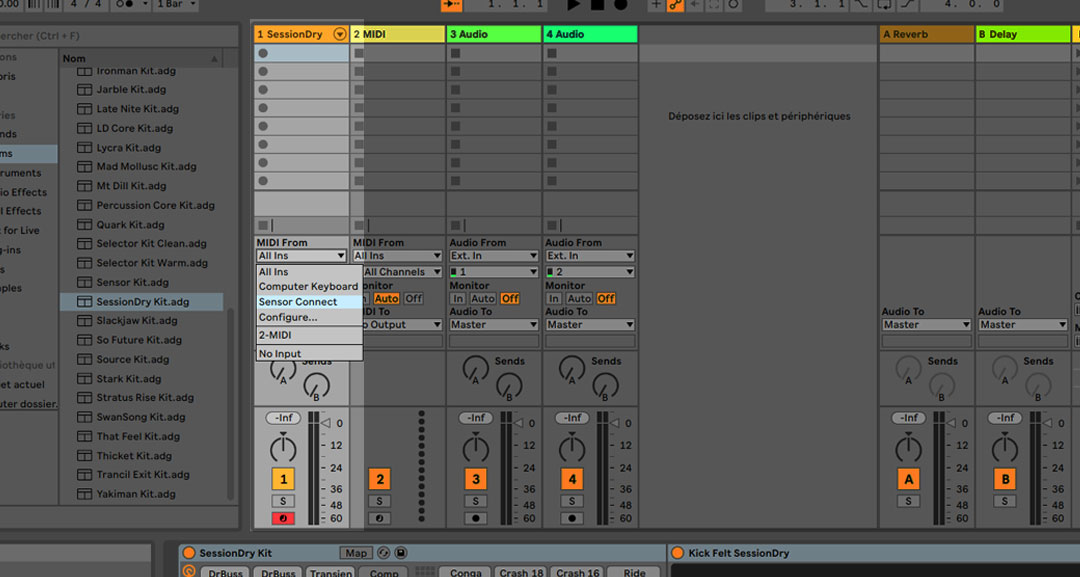
In order to be able to use the kit, check that the “session recording” button is enabled.
In addition, if you do not want your other MIDI controllers to interfere with your sensors, you can select the MIDI port created in the “MIDI from” section.
This way, only the notes from your sensors will control your track.
Don’t forget to reload your last drumkit by pressing briefly on the sensors before playing.
Going further: change the MIDI mapping
Senstroke sensors use standard MIDI mapping for the drum set.
Mapping should be automatic in most cases.
If one of the items you have configured with the Senstroke app does not produce any sound, it is easy to change the corresponding note in Ableton Live.
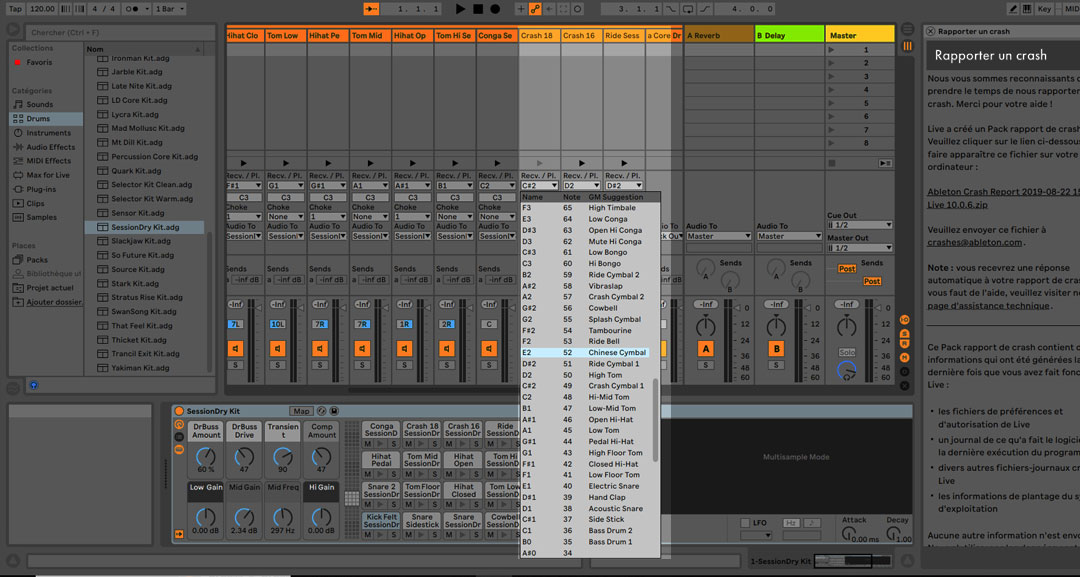
To do this, click on the arrow next to the track name. This will open up a view of all the samples in the Kit and the corresponding notes.
For example, if you have configured a Chinese Cymbal (MIDI note E2) instead of a Crash (note
MIDI C#2) and you don’t want to reconfigure everything, you just have to do this:
- On the sample of the Cymbale Crash 18, click on the note C#2
- In the drop-down menu that appears, select the note the note E2 corresponding to the
Chinese cymbal.
Find all our Senstroke tutorials to connect the sensors to your favorite MAO software.
Keep on drumming !
