In this tutorial, we will learn how to connect Senstroke sensors to Reaper, a digital audio workstation software.
Reaper is a free and very easy to use DAW software, that’s why we have chosen to show you how to use Senstroke sensors with it.
The Senstroke technology
As a reminder, Senstroke sensors use MIDI technology, which allows use with all DAW (Digital Audio Workstation) software that accepts MIDI via Bluetooth.
Connect the Senstroke sensors to Windows
We invite you to read our tutorial about how to connect Senstroke sensors to Windows 10.
This tutorial shows you how to proceed and what software you need to download in order to connect the sensors to Windows 10.
Connect the Senstroke sensors to Reaper
Requirements
- Have the Senstroke sensors connected to Windows 10
- Having Reaper installed. You can find it as a free download at www.reaper.fm
- Have downloaded a virtual drum instrument.
In Reaper
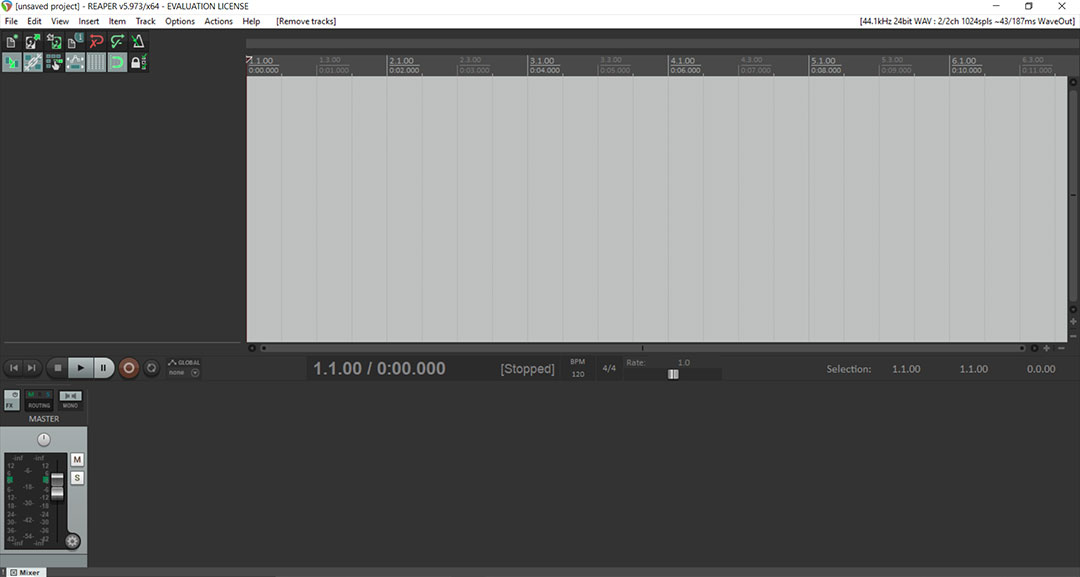
Launch Reaper.
The software is free, you can use the trial version as long as you do not produce commercial content with it.
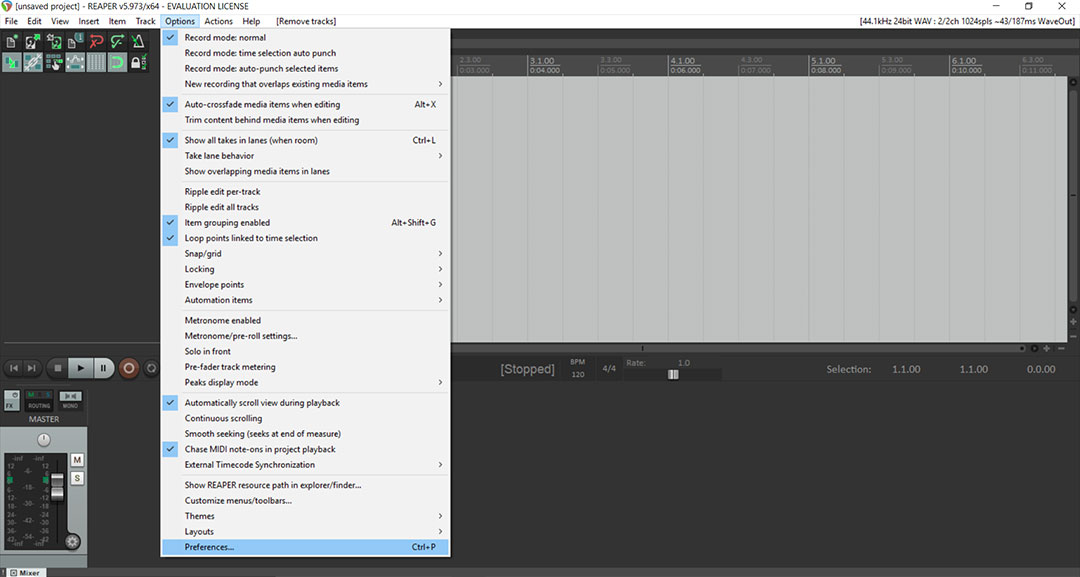
Go to the software preferences.
To do this, click on “options” in the top menu, then Preferences at the bottom of the window.
You can also use the keyboard shortcut CTRL+P.
A window opens.
Go to MIDI Devices, located in the Audio section.
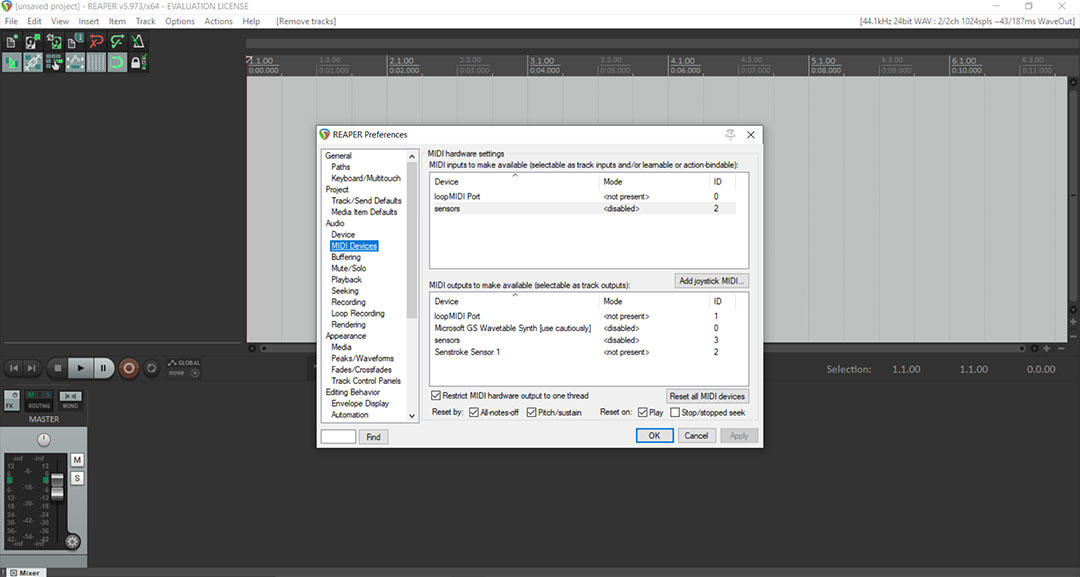
You will see the MIDI Port previously created by connecting your sensors to Windows appear. It can be SensorConnect or LoopMIDI.
In this case, it is called “sensors”.
The default setting for the Sensors port is “Disabled”.
Right-click on “Disabled”, and click on “Enable Input” in the window that opens.
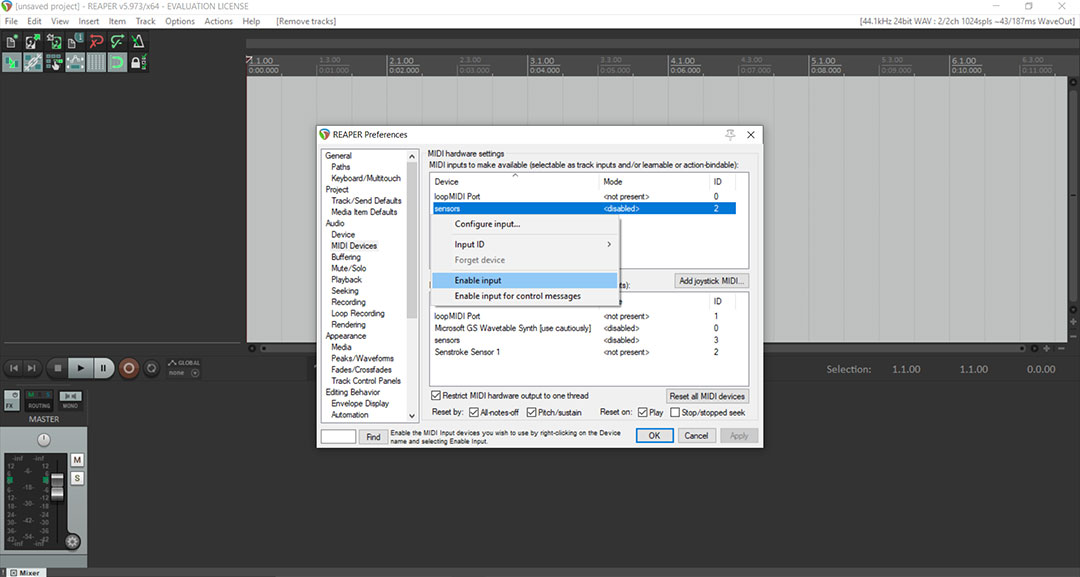
Click on “Apply” at the bottom right, then close the window.
Insert a virtual instrument on new track
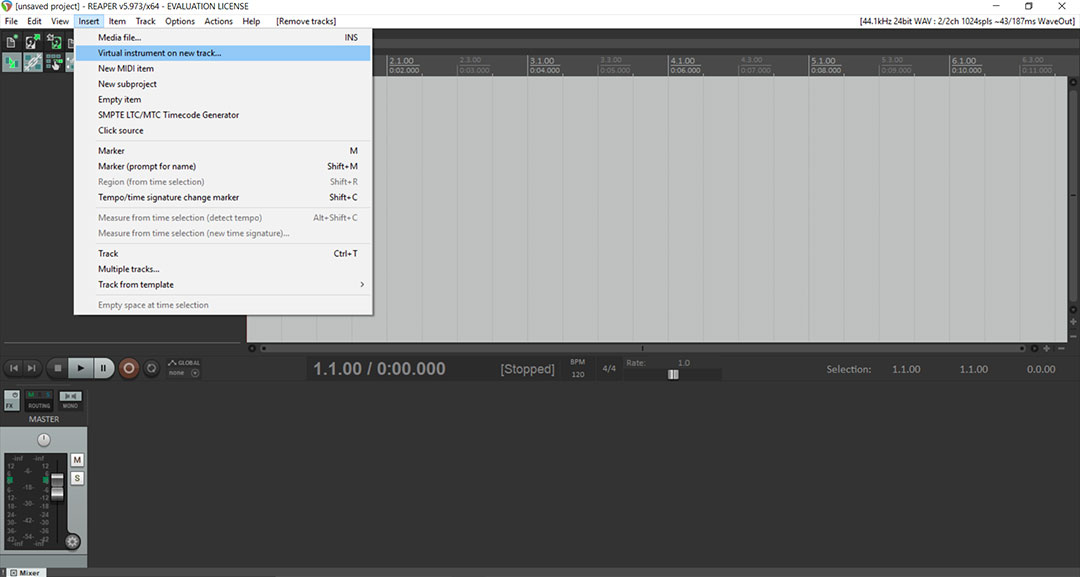
In the top menu, click on “Insert” then on “Virtual Instrument on new track”.
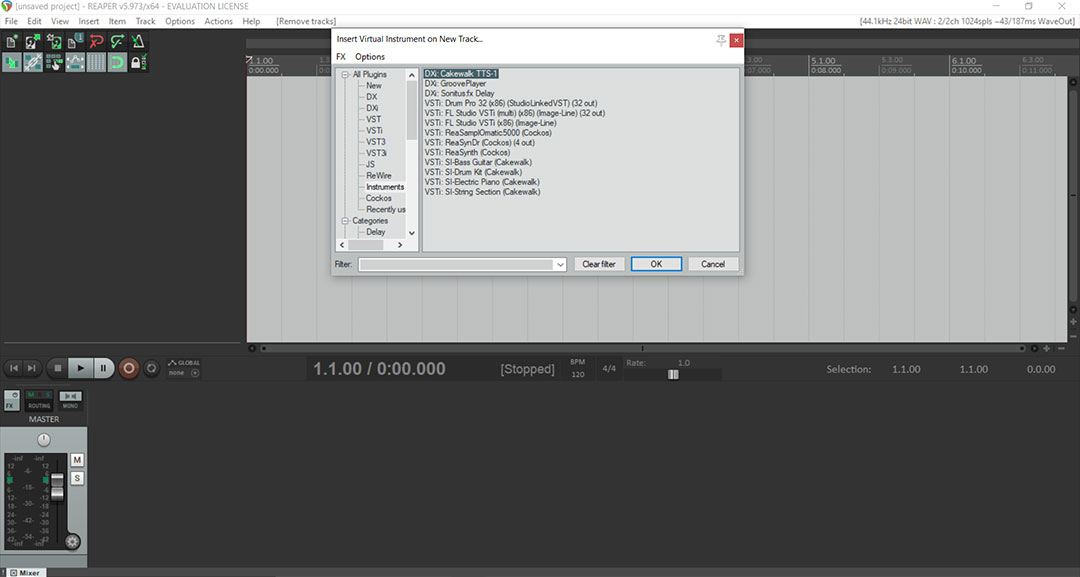
A new window will open. Go to “Instrument” located in the left menu.
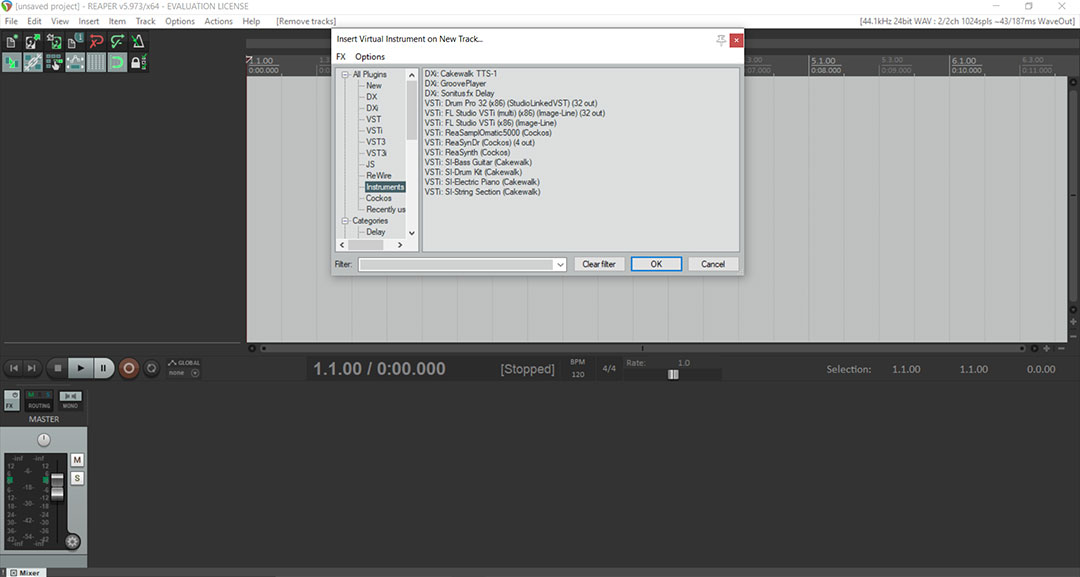
For this tutorial, we will use a sound kit proposed by Cakewalk. You can download these sounds for free on the official BandLab website if you want to use them.
Double click on the desired instrument to add it to a new track.
To have a drum sound, you must use MIDI channel 10, the one commonly associated with percussion.
In the dedicated part of your audio track, click on the Input, here called “MIDI : All : All channels”.
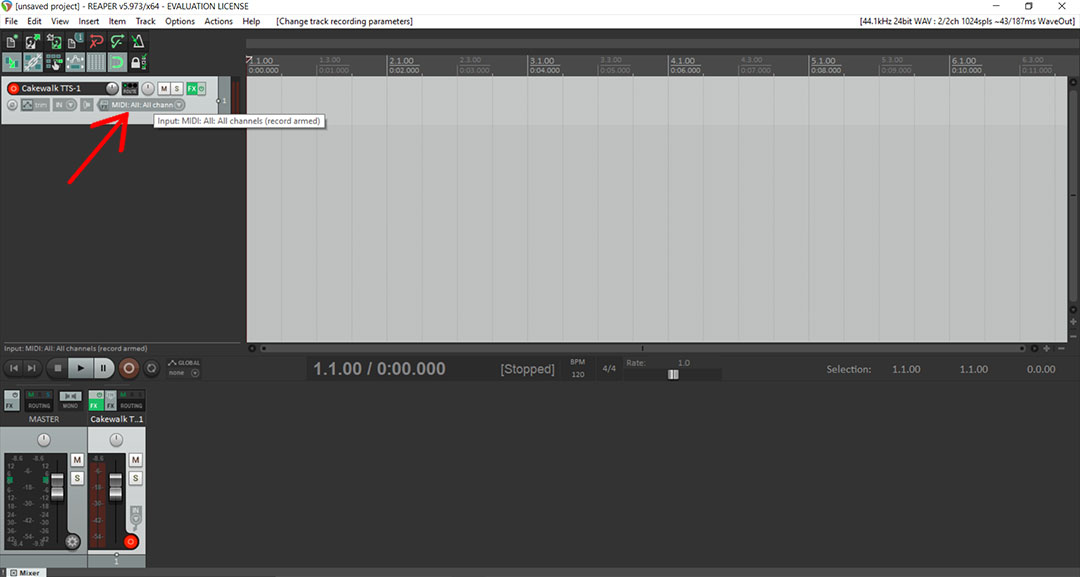
In the menu that appears, click on “Input : Channel” then on “map Input to channel”.
Then select Channel 10.
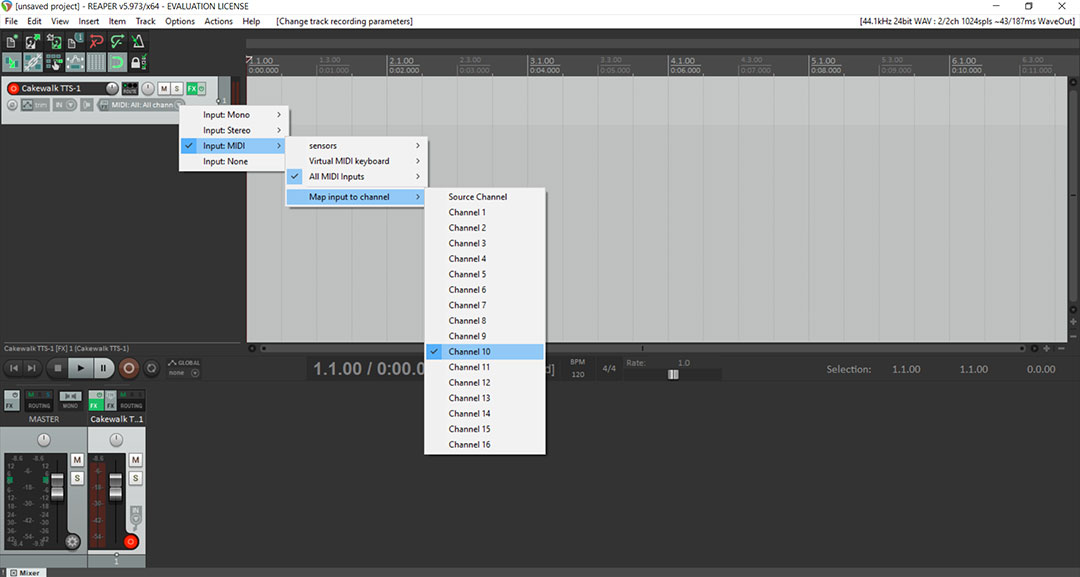
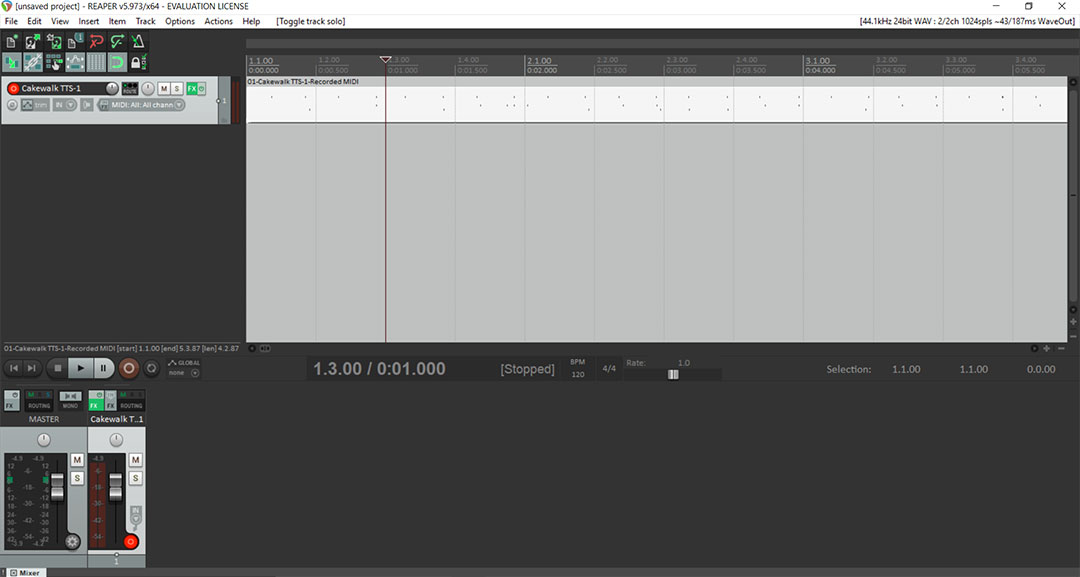
Senstroke sensors now produce a drum sound directly in Reaper.
Now that you know how to connect Senstroke sensors to Reaper, you can register, play with different drum kits… In other words: use all the features offered by Reaper !
Other tutorials are currently in preparation, feel free to share with us the one you want to see in our Redison forum.
And don’t forget, keep on drumming !
